
Today on the blog I wanted to share with you some more technical, behind the scenes information about my photo editing! I’ve made a few changes this past year to my workflow, and I’m loving where I’m at and the results I’m getting in post processing. With each before and after, I’ll share a little information about the shoot, lighting conditions, and the thought process behind my edits!
If you’re interested in seeing more of my editing journey, you can check out two other posts I’ve done about editing. I did a similar before & after post in 2013 talking about my editing process which has a lot of good information in it, and that same year shared some truly cringe-worthy edits that I did when I was just starting out as a photographer.
Before we get started: some preliminary info for you! All of these images are shot on my Nikon D750 with prime lenses and processed in Lightroom with VSCO Film presets as a base (they almost always get heavily tweaked to my liking, though.) As a photographer I admire always says, “We’re a community, not a competition!” – so I’m happy to share my secrets with you all!
Let’s go!
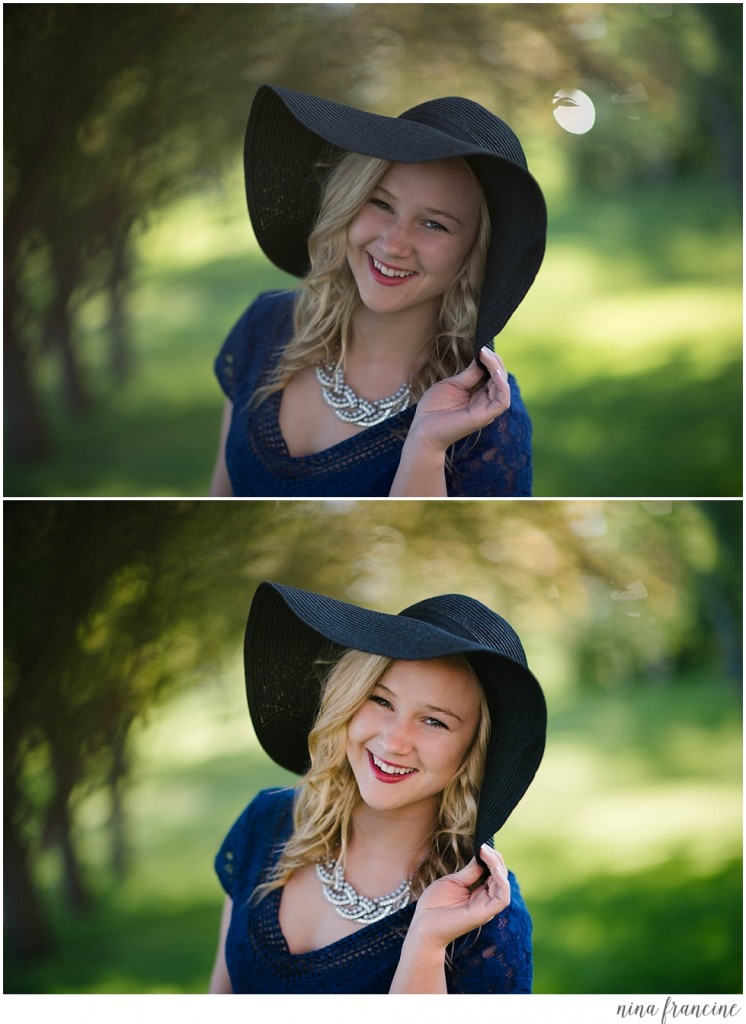 This photo of Emma didn’t need much tweaking, but I brightened up her face and removed the distracting bit of bokeh in the background to keep the focus on her.
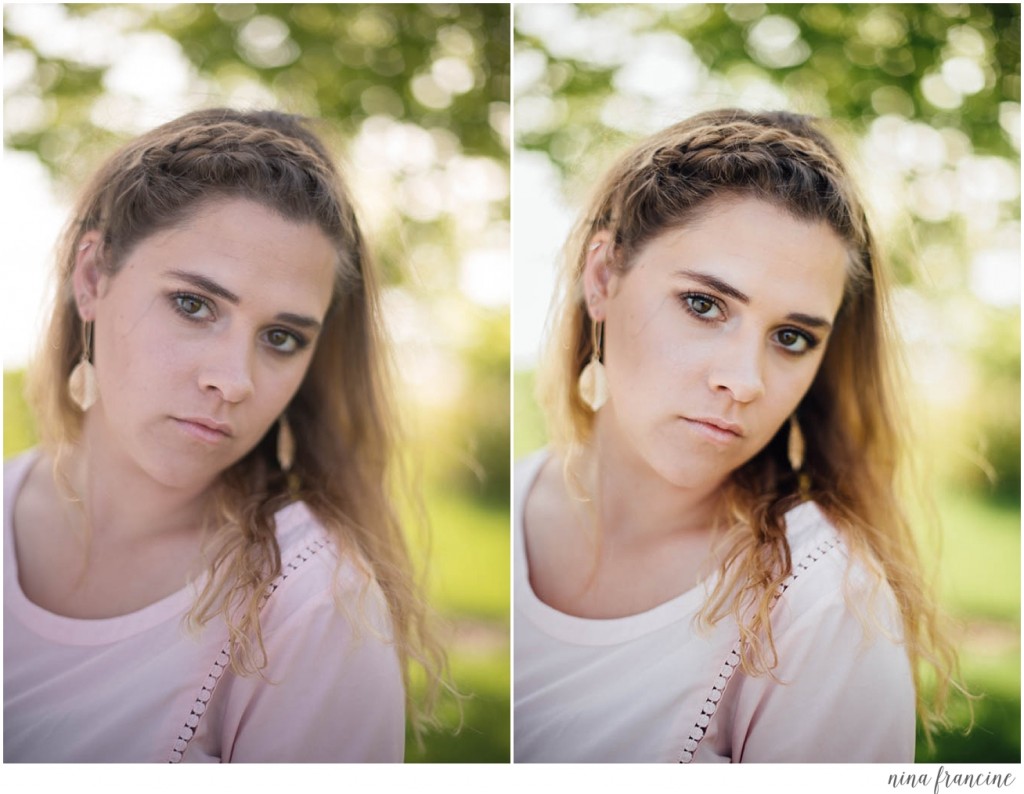
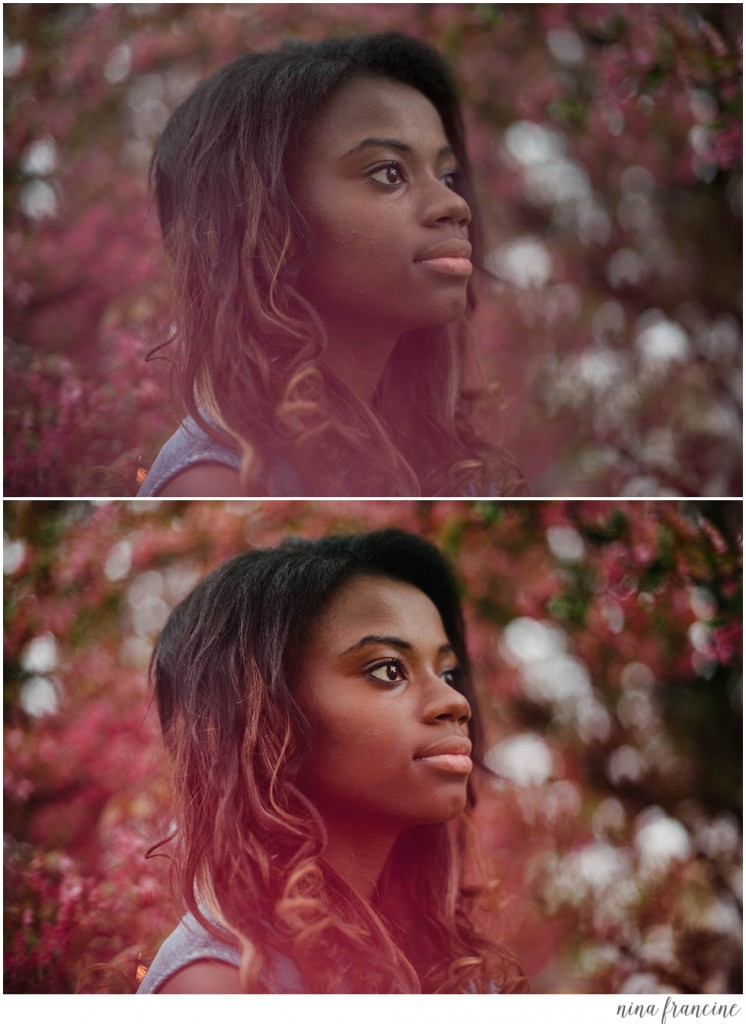
Again, not many tweaks needed on this image of Hannah, but I did adjust the skin tone to be less magenta and more yellow. I also painted over the background with a light yellow layer to enhance the saturated sunshine in this session!
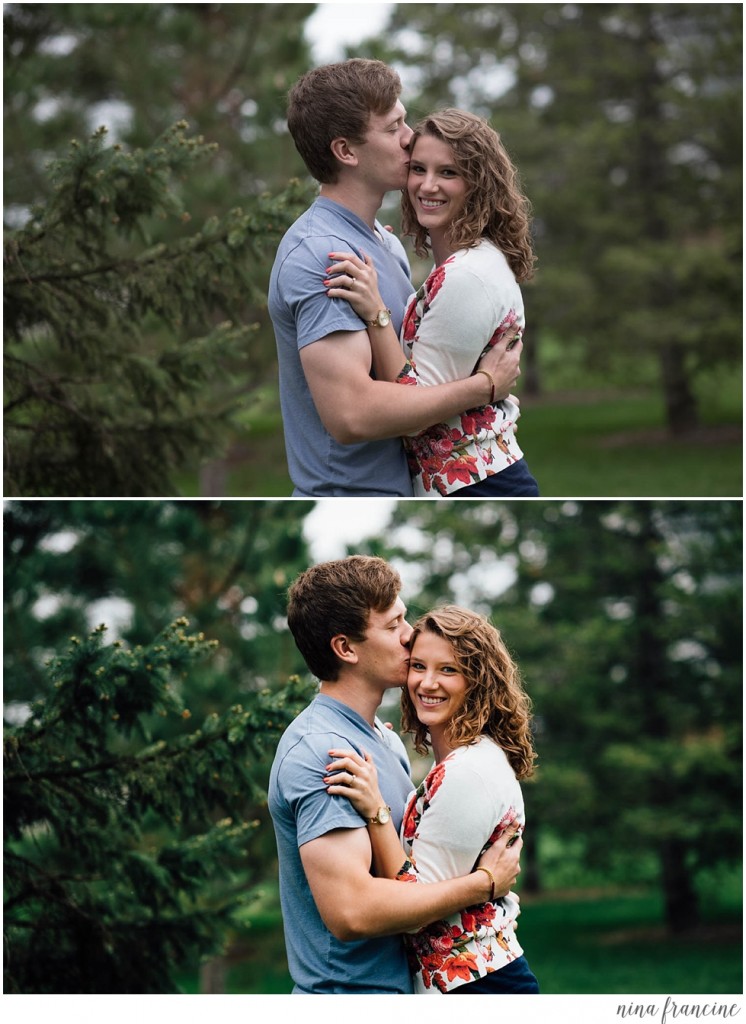 Here’s a more drastic edit from Natalie & Brandon’s engagement session. It was an extremely overcast/dark day, so I needed to bring the sunshine and color in post processing as well as bump up the shadows in the eye socket area.
 Another of Emma – in this case I needed to remove the distracting element in the righthand corner to keep the focus where it should be!
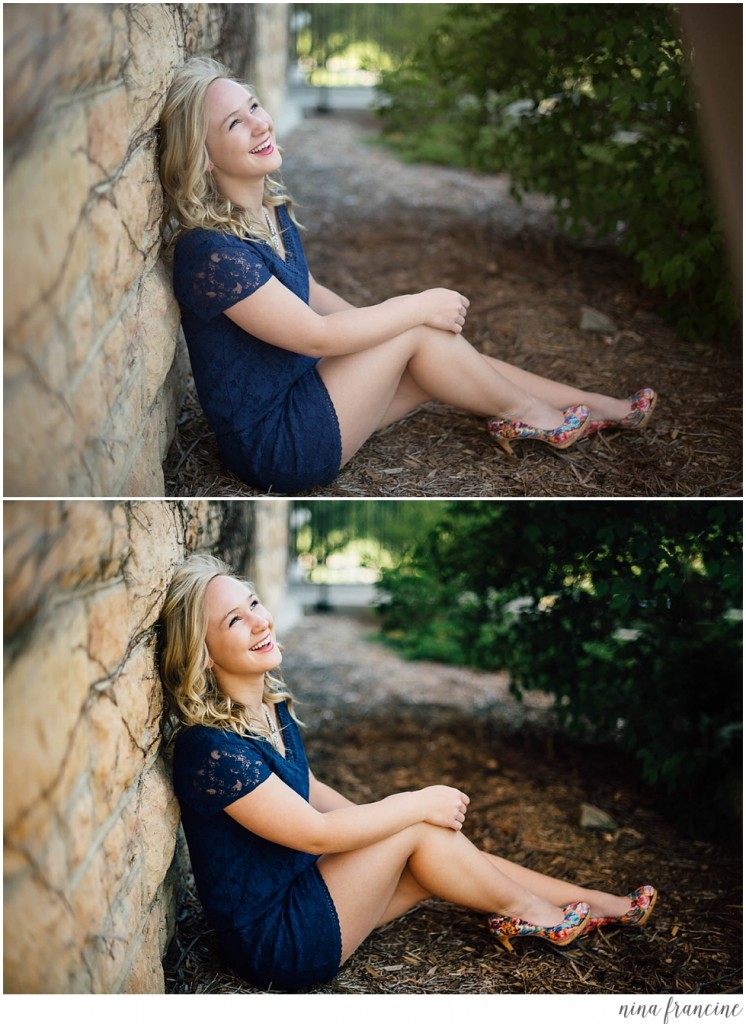
 I love placing my subjects in and around colorful trees/flowers/whatever! Often, I’ll use part of the color to create a dreamy blur in front of the lens. This is not done in post processing at all – just enhanced with contrast and exposure.
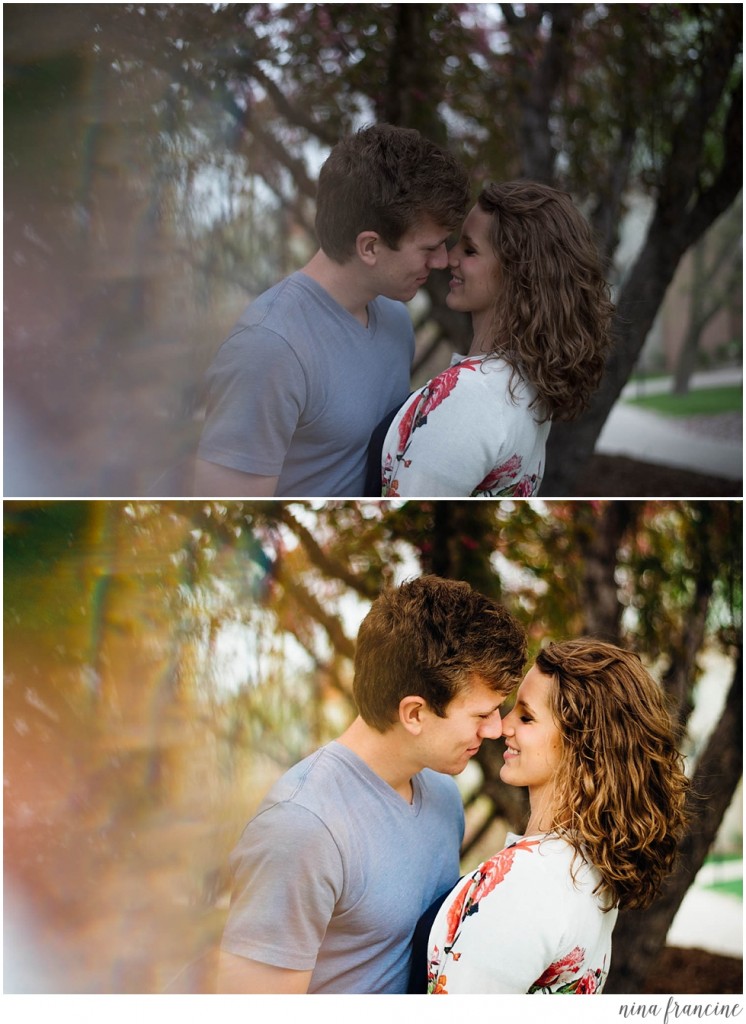 Another from Natalie and Brandon’s session. As I mentioned before, the day was totally drab which called for a little sun in post processing. The effect on the left side of the photo was done in person with a prism – not in post processing. A slight crop to keep the focus on the couple and some adjustments to temperature and exposure made this one a winner!
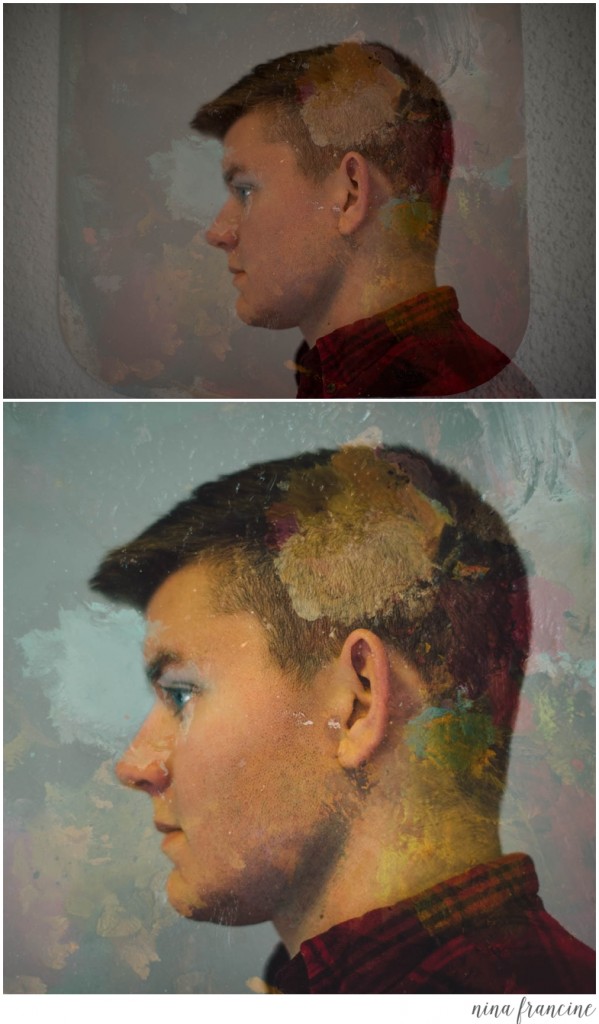
This last image of my husband Matt was taken for his music page on Facebook, so it’s not my typical style. This is a multiple exposure done in camera of one of my oil painting palettes.
That’s all, folks! I hope this was helpful or interesting to some of you! As always, I’d love to talk more about post processing, answer any questions, or know which transformation was your favorite!