
A month or two ago, I wrote a post about the process of editing that most photographers go through, and I included some of my cringe-worthy edits from the beginning of my journey with photography. Today, I thought I’d share what I see when I import straight from the camera, and also explain why I edit the way that I do. Before we begin, it’s important to know that I edit solely with Photoshop Lightroom 5 – and I love it! If you’re looking for a post-processor that gives you complete freedom and control over every aspect of your images, look no further. Onward!
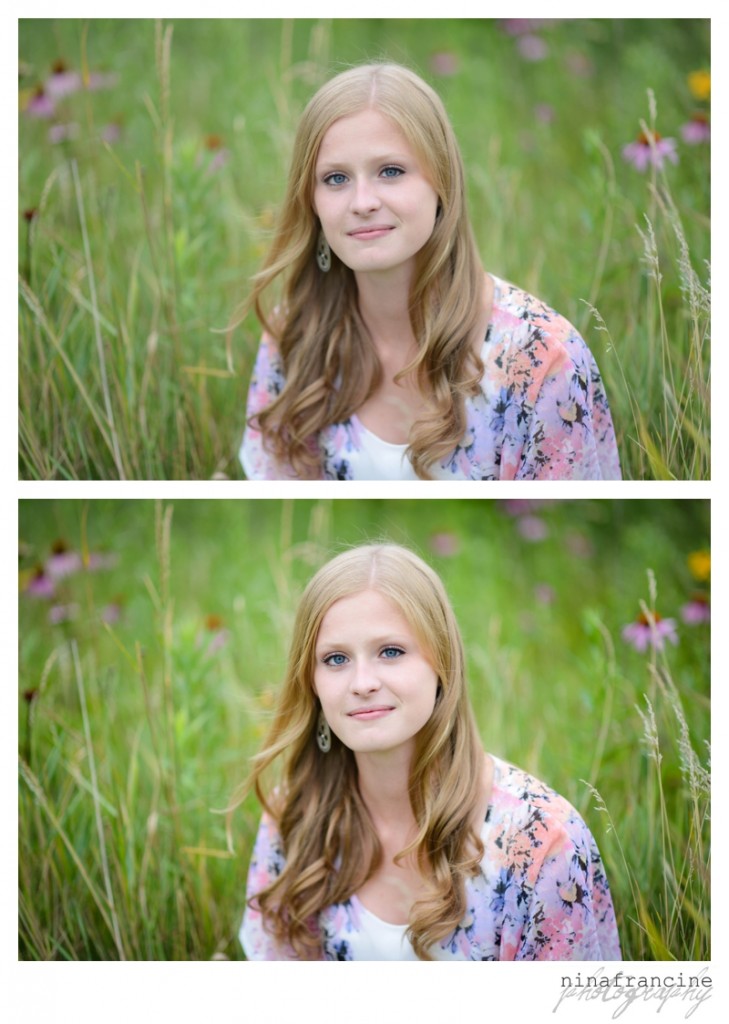
Let’s start with these images of Amber from her summer senior session. I’ve used my standard editing style – bump up exposure for luminescent skin, increase the contrast for more vibrant color, and, in this case, added a slight vignette to frame the image and make Amber the center of attention.
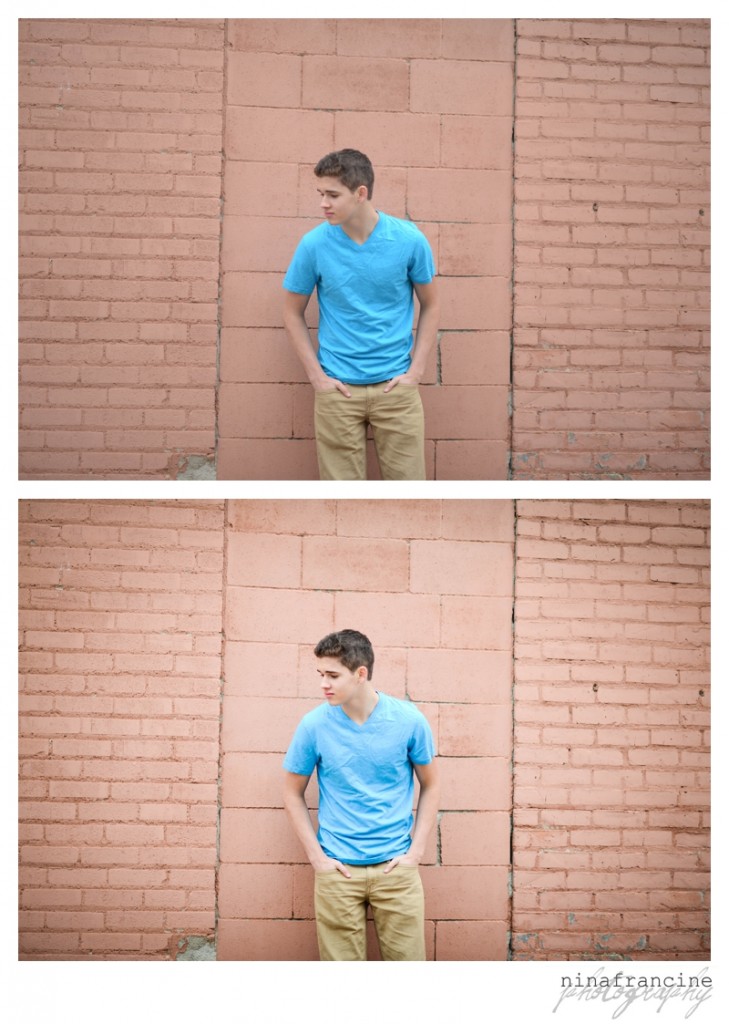
Same deal with this image of Jono from this Autumn – increase exposure and contrast, with an added vignette for focus.
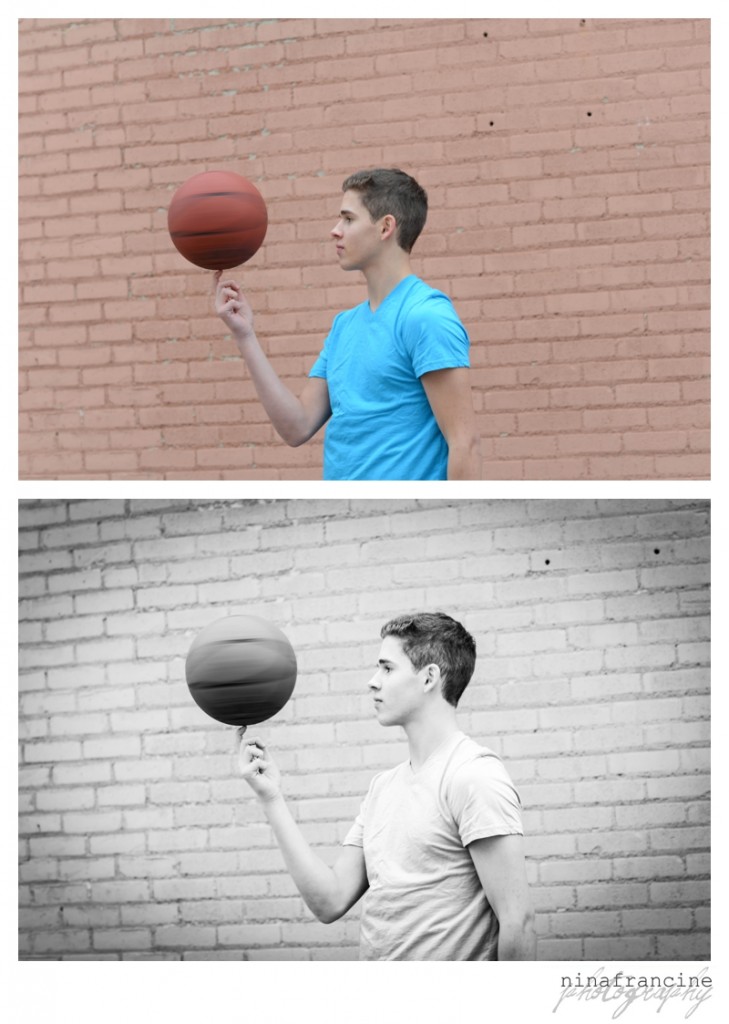
In this next image, basic editing wouldn’t be enough to convey the desired intensity of the shot. I cropped for a tight focus, converted to a bright and clean black and white and added a more obvious vignette to anchor all of the brights in the image. Taking the color out of the image made it easier to focus on what’s happening instead of dealing with the salmon wall competing with the orange ball and blue shirt.
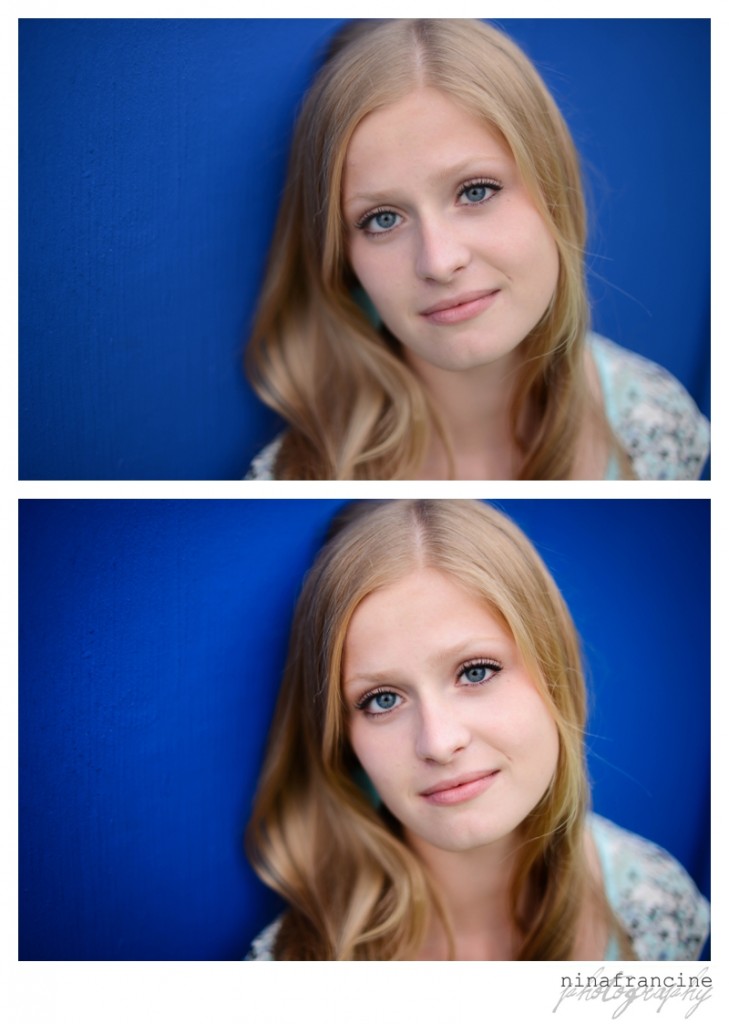
Oftentimes when shooting straight into the sun, subject and colors get very washed out. In this shoot with Allison, no amount of contrast bumping brought out the vibrancy that I knew was there. Instead of fighting with it, I chose a creamy black and white with a hint of brown to bring rich tones back into the image.
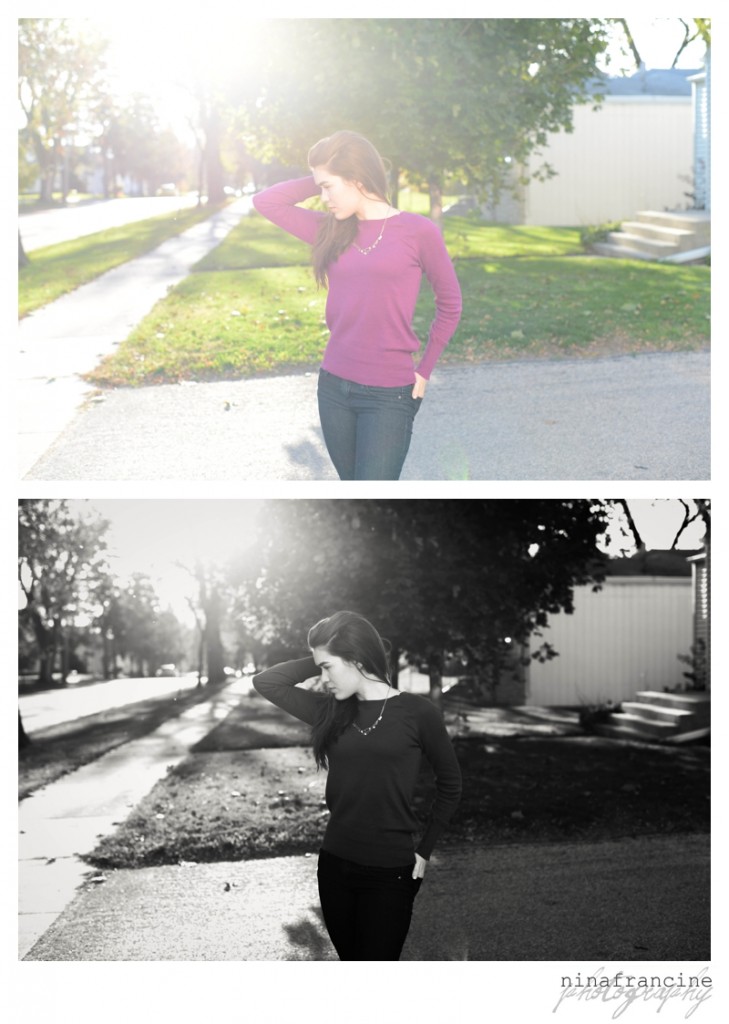
I always try to get color, focus, and lighting correct in-camera so that I barely have to touch the images in post processing. Any image that I have to fight with to complete my vision is one that I should have taken more time to shoot correctly in the moment, and often is discarded.
I hope this glimpse into my editing process has been helpful!
Was this post helpful to you? I’d love to hear your feedback – let’s get this conversation started!
[…] editing journey, you can check out two other posts I’ve done about editing. I did a similar before & after post in 2013 talking about my editing process which has a lot of good information in it, and that same […]